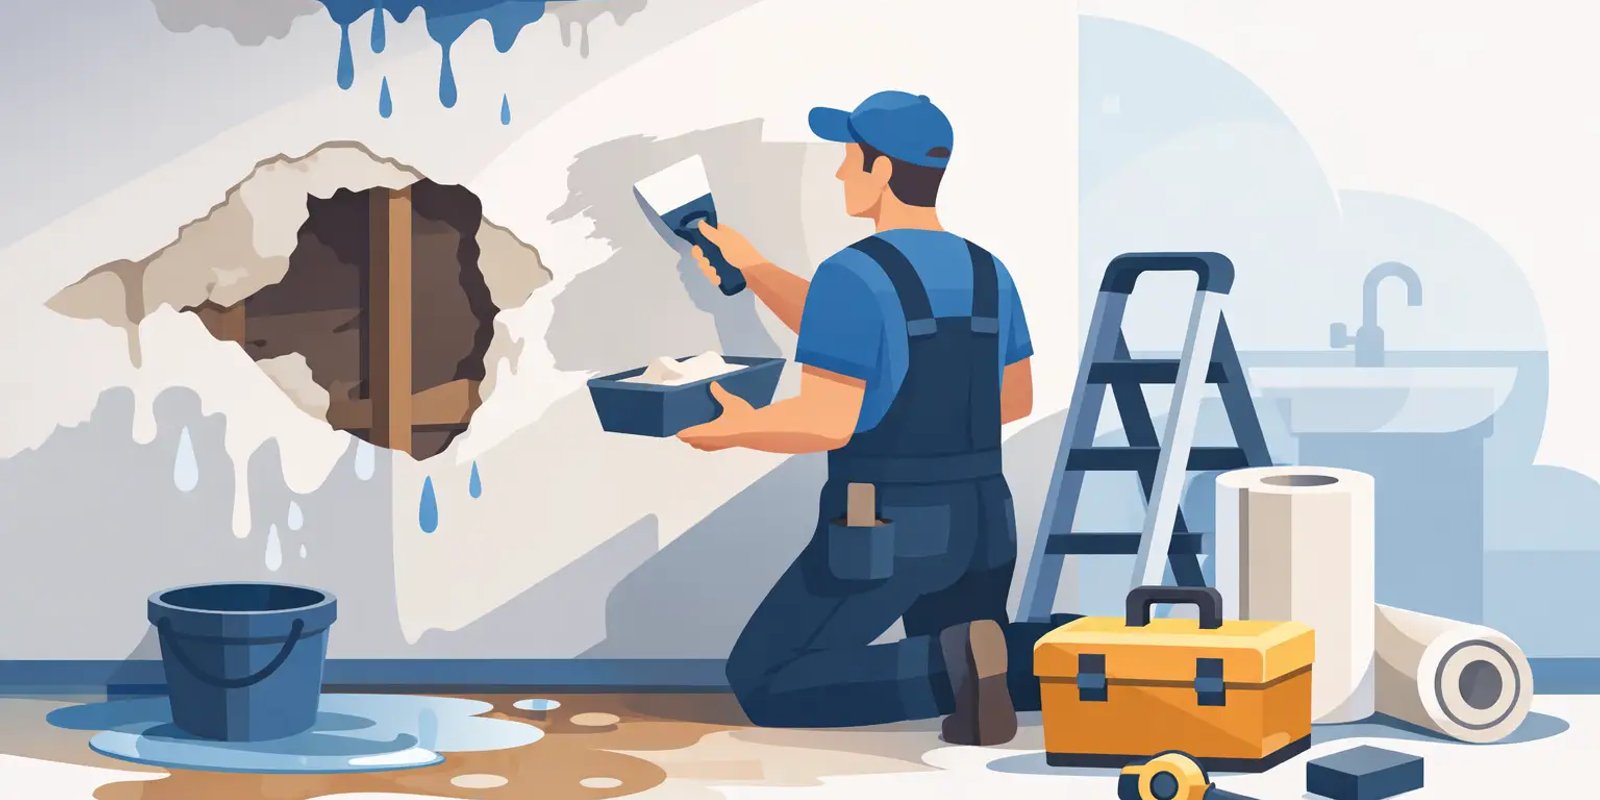

A water stain on the ceiling or a soft spot in the wall usually means the real problem started earlier. By the time homeowners begin thinking about drywall repair after water leak damage, moisture may already be sitting behind the surface, soaking insulation, weakening seams, and creating the conditions mold needs to grow.
That is why the first step is never cosmetic. Before anyone patches, sands, or paints, the leak has to be found, stopped, and the affected area has to be properly dried. If that part gets rushed, the repair may look fine for a few weeks and then fail right back in the same place.
Why drywall reacts so badly to water
Drywall is strong for everyday use, but it is not built to handle prolonged moisture. The gypsum core absorbs water quickly, and the paper facing holds that moisture longer than many homeowners expect. In a slow leak, the board may look only slightly stained while the back side is already breaking down.
Clean water from a one-time plumbing issue is one thing. Ongoing roof leaks, second-floor bathroom overflows, and pipe failures inside a wall are another. The longer the board stays wet, the more likely it is to sag, crumble, separate at the seams, or develop mold growth that cannot be solved with a simple patch.
This is where judgment matters. Sometimes the drywall can be dried and repaired. Sometimes replacement is the only responsible option. The difference depends on how much water got in, how long it was there, and what is happening behind the wall.
Drywall repair after water leak damage starts with inspection
A proper inspection goes beyond the visible stain. Water travels, and the damaged area is often larger than the mark you can see from the room. A ceiling stain below a bathroom, for example, may spread outward through insulation or framing before it ever shows on the paint.
At this stage, the main questions are straightforward. Is the leak active or already resolved? Is the drywall still solid, or is it soft and swollen? Has the joint tape lifted? Is there trapped moisture in the cavity? Is insulation wet? Is there any sign of microbial growth or odor?
For homeowners, one of the biggest mistakes is assuming a dry-looking surface means the structure is dry. It often does not. Moisture can remain behind intact paint or inside a wall cavity long after the room feels normal again.
When drywall can be repaired instead of replaced
Not every water event calls for full removal. If the leak was minor, addressed quickly, and the drywall has dried without sagging or losing strength, a repair may be enough. That usually means the board is still firm, the paper facing is intact, and there is no mold issue.
In those cases, the process may involve drying the cavity, sealing any residual stain, retaping a seam if needed, applying compound, sanding, priming, and repainting the area. A small, well-contained problem can often be handled without opening large sections of wall or ceiling.
Even then, there is a trade-off. Spot repairs are efficient, but only when the underlying materials are truly stable. If there is any doubt about hidden moisture or compromised board strength, replacing a larger section is usually the better long-term decision.
When replacement is the smarter choice
If the drywall is sagging, crumbling, bulging, or feels soft when pressed, replacement is typically the right move. The same is true if the paper surface is peeling, the stain keeps expanding, or the area stayed wet long enough to raise mold concerns.
Ceilings deserve extra caution. Water-damaged ceiling drywall can lose structural integrity fast, and sagging overhead material is not something to ignore. In many cases, a stained ceiling is the visible warning sign for a much wider moisture problem above it.
Replacement is also common when insulation behind the wall is wet. Once the cavity has to be opened to remove insulation and dry framing, trying to preserve a damaged drywall section often creates more work than it saves. A clean cutout and controlled rebuild usually leads to a better result.
The real drying process matters
Drying is the part homeowners rarely see, but it has a major impact on whether the repair lasts. Depending on the source and severity, proper drying may include opening the affected area, using air movement, dehumidification, and monitoring moisture levels in framing and surrounding materials.
This is especially important in older Lehigh Valley homes, where layered repairs, plaster transitions, insulation changes, and aging framing can make moisture behavior less predictable. Water does not always stay where you expect it to.
Rushing past this step can trap moisture in the wall assembly. That can lead to blistering paint, recurring stains, musty odors, and callbacks nobody wants. A disciplined repair process is slower on the front end, but it prevents a second round of damage later.
Matching the repaired area to the rest of the room
Homeowners often focus on getting the damage gone, but appearance matters too. A drywall repair is only complete when the wall or ceiling blends back into the room without obvious seams, texture differences, or flashing under fresh paint.
That can be harder than it sounds. Ceiling repairs often show if texture is not matched correctly or if only the patched area gets painted while the surrounding surface has aged. Walls with heavy orange peel, hand-applied texture, or years of paint buildup take extra care.
This is where craftsmanship shows. A good repair is not just structurally sound. It should also look consistent with the rest of the home. For many homeowners, especially in well-kept or recently updated spaces, that finish quality is what separates a temporary fix from a professional restoration.
Insurance, documentation, and scope questions
Water damage repairs sometimes fall into insurance territory, but not every leak is covered the same way. Sudden and accidental events may be handled differently than long-term maintenance issues. That is one reason documentation matters from the start.
Photos, notes about when the leak was discovered, and a clear record of affected areas can help clarify scope. In some homes, drywall damage is only one part of the job. Flooring, trim, insulation, cabinetry, or paint may also be affected. Looking at the problem as a full restoration issue, not just a patching issue, usually leads to a more accurate plan.
For homeowners trying to keep stress down, clear communication is just as important as the repair itself. You want to know what has to come out, what can be saved, how the area will be dried, and what the finished repair will include.
Choosing the right approach for drywall repair after water leak issues
The right repair plan depends on the severity of the damage, the location of the leak, and the condition of the surrounding materials. A minor kitchen line drip behind a wall may be a focused drywall job. A bathroom overflow into a first-floor ceiling may turn into insulation removal, framing dry-out, texture matching, repainting, and trim touch-up.
That is why one-size-fits-all pricing or quick verbal guesses are risky. A reliable contractor should be able to explain the reasoning behind repair versus replacement, identify what is visible versus what still needs to be confirmed, and give homeowners a clear path forward.
For local homeowners dealing with restoration work, that level of accountability matters. Veteran Grains approaches these projects the same way it handles remodeling work - with clear communication, disciplined project management, and respect for the home.
What homeowners should do right away
If you have active water damage, start by stopping the leak and protecting the area below. After that, avoid the urge to patch over stains or repaint too soon. Cosmetic work before proper drying can hide the problem for a short time, but it rarely solves it.
It also helps to pay attention to small warning signs. A faint yellow ring, a popped seam, a soft wall corner, or bubbling paint near a shower or window may seem minor, but those are often early indicators that moisture has been present longer than expected.
When the goal is protecting your home’s value, the best drywall repair after water leak damage is the one that deals with the whole problem - not just the part you can see. If the repair is done carefully, with the leak resolved, materials dried, and the finish restored correctly, the room can look right again and stay that way. That kind of repair brings more than a clean wall or ceiling. It gives you confidence that the problem is actually behind you.